Customizing a store bought item is the best way to create something that’s truly one-of-a-kind without the hours and hours of creating something from scratch.
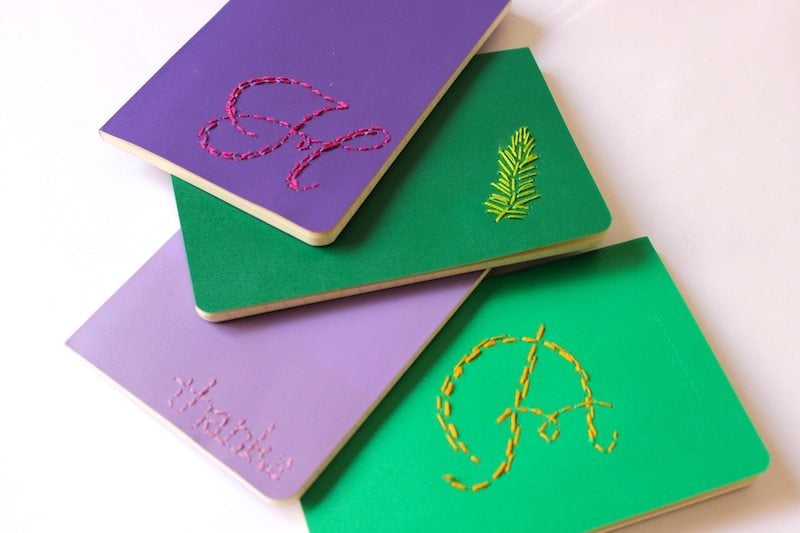
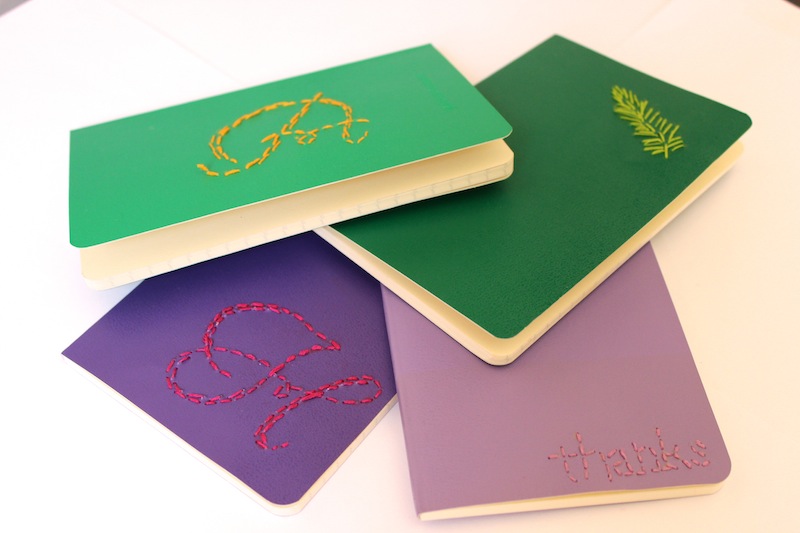
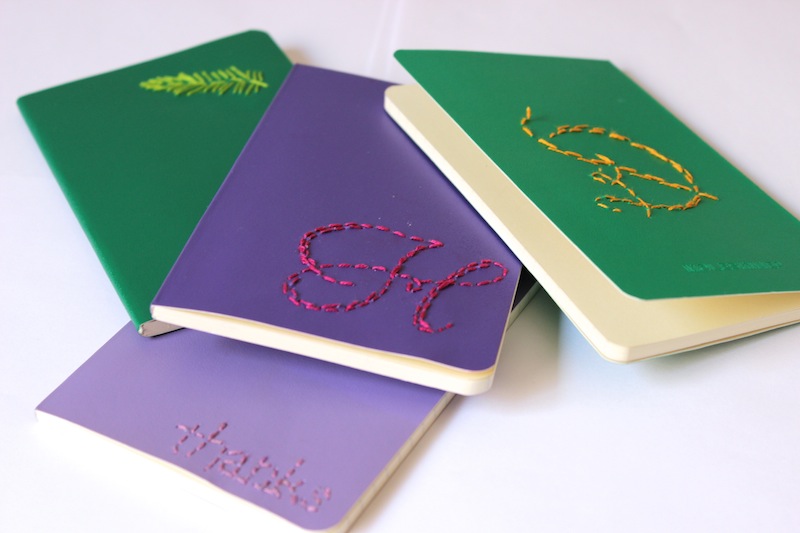
These customized journals are the perfect topper to a present or a great item for a gift bag. Create a handful at one time and have a sweet and sentimental present for all your loved ones and special occasions throughout Spring and Summer. Here’s how we took these simple journals and turned them into a memorable and heartfelt gift items.

Supplies:
1. Colored Moleskin Journal – (get these pretty little booklets shipped straight to your door HERE)
3. Needle
4. Stamp
5. Ink pad

Step 1 – Take your pick! Pick your color combination for the journal and thread, pick your stamp, and pick the word/pattern location.
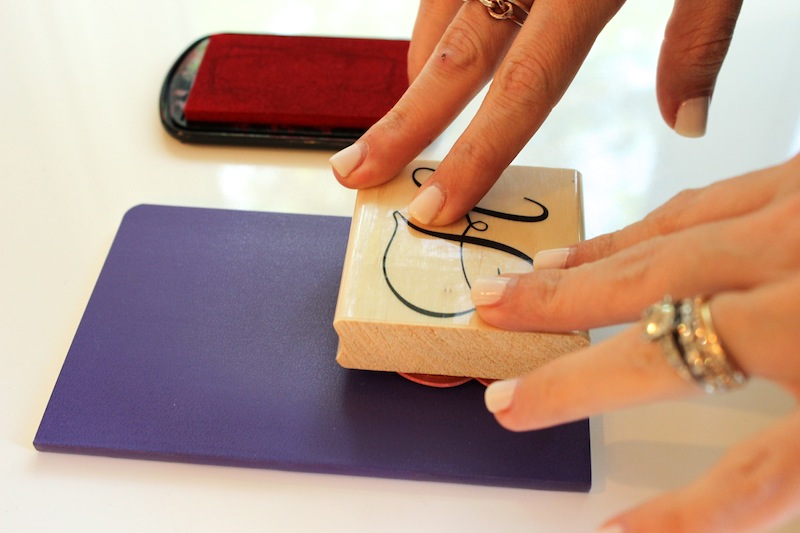
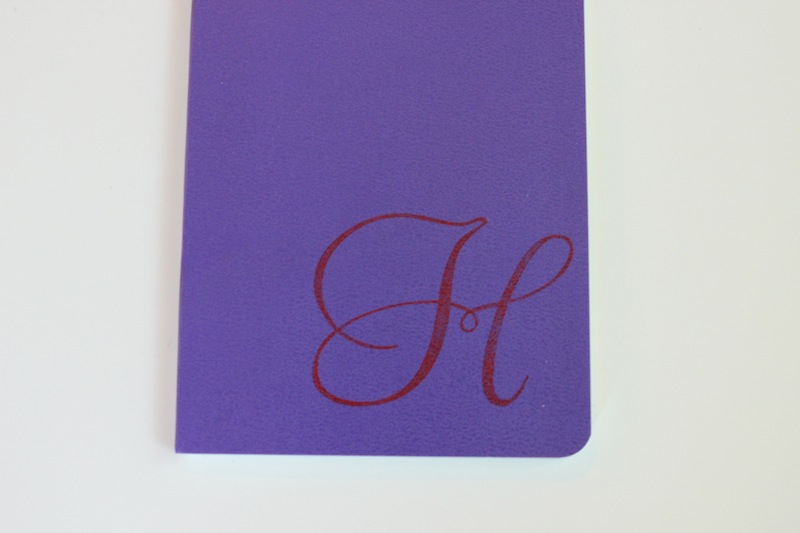
Step 2 – Lightly stamp your pattern.
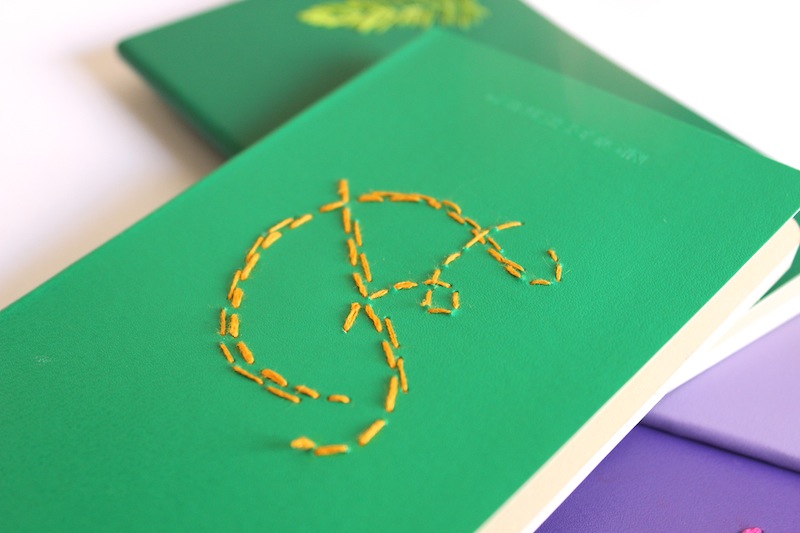
Our trick for making the embroidered pattern look nice and clean is by using a stamp as the pattern template. You can definitely hand draw or stitch the pattern freehand, but we found this trick to make the final product look a lot more professional. Keep in mind that you want an ink color that’ll either blend in with your colors or wipe away (ours wiped away pretty easily).

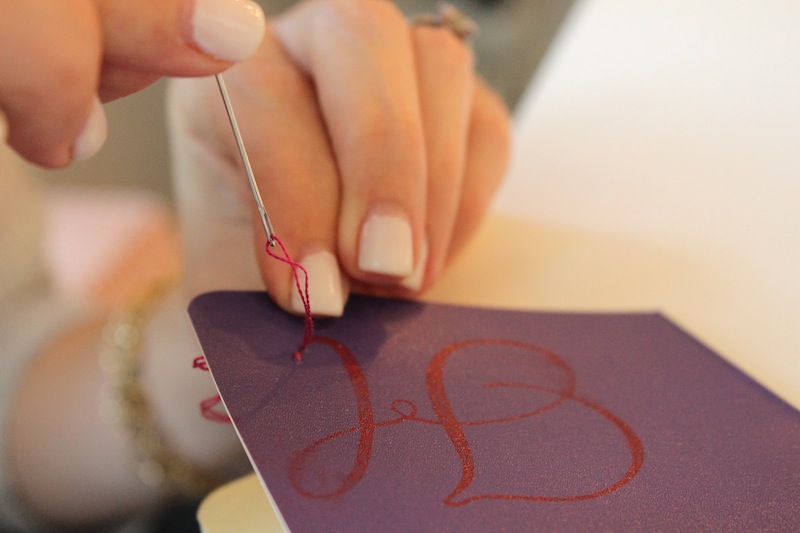
Step 3 – Poke holes along the pattern/letter where the thread will weave in and out. I found that making the holes prior makes the process quicker, more accurate and easier.

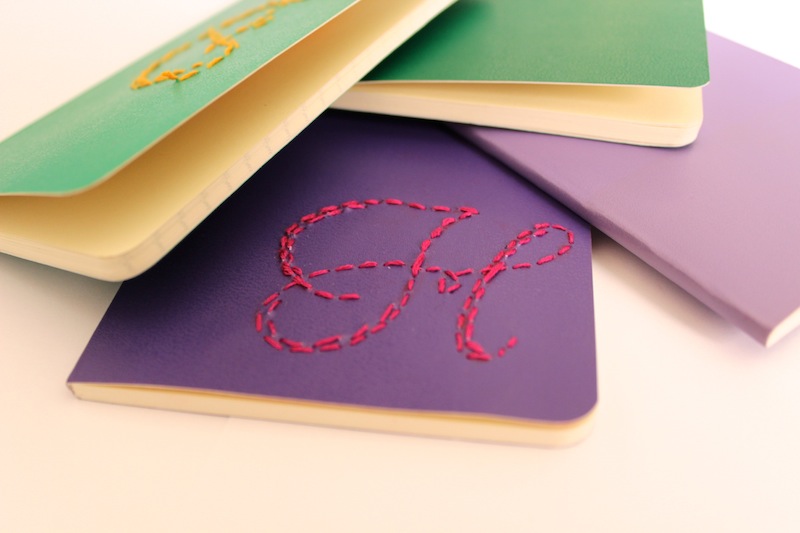
Step 4 – Start weaving the thread in and out of the holes following the line of the pattern. For the parts of the pattern that are a bit thicker, create 2 or 3 rows of stitching. and vuala!

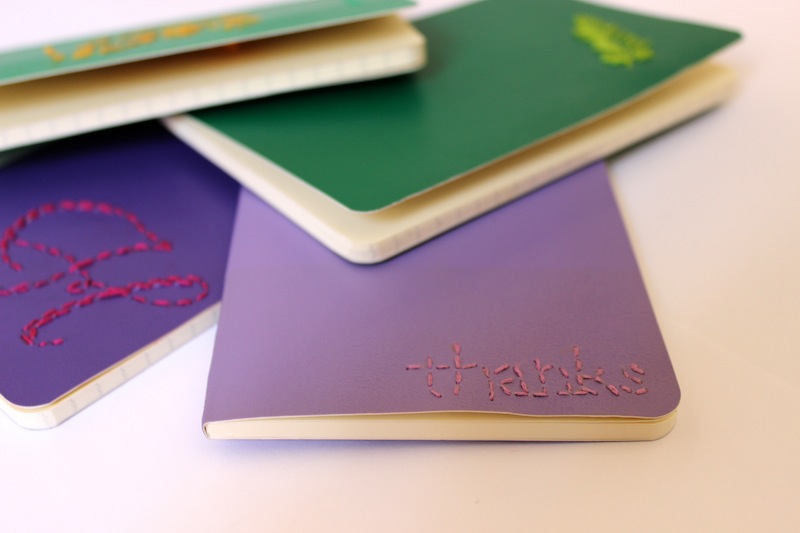
Happy Crafting!!