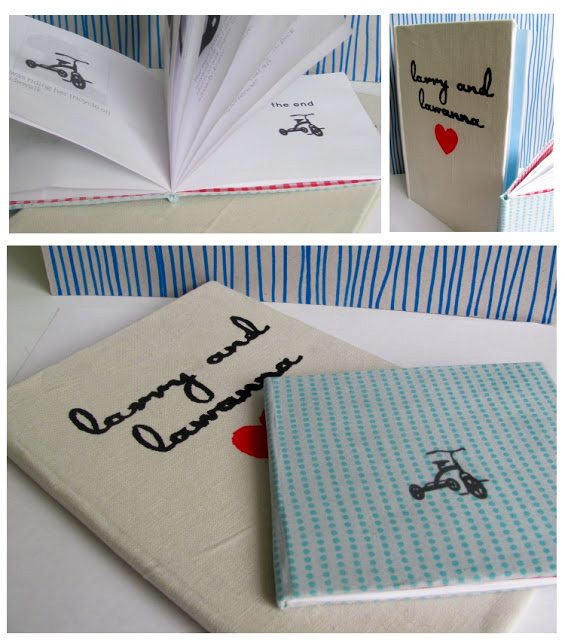
As a blogger I sometimes feel like I’ve seen every craft, recipe, and cutesy idea at least thirty times already but when I was wandering around the internet last week I happened upon Persia Lou and I thought this craft was the sweetest, most creative post I’d seen in ages!! It’s one of those things (like making a quilt or high-level scrap booking) that other moms do and I feel supremely jealous that I’m not also going to such effort for my own kiddos. These family history storybooks are such a lovely way to teach your little ones about their family, but they’d also make a really lovely gift for any family member when created about their own personal history. I’m so thankful to Alexis for sharing the how-to’s with us below!! Be sure and check out her site or become her friend on FACEBOOK or TWITTER.

Family History Storybooks by Persia Lou

I wanted cloth covers, and I used freezer paper to personalize them. I made a stencil for one book.
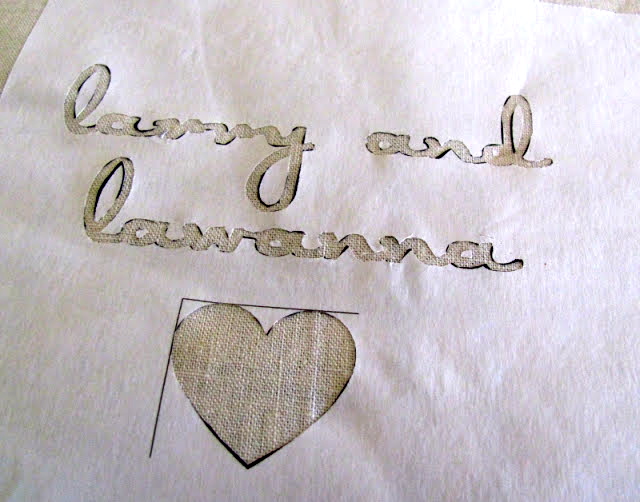
That was maybe the most difficult part of the whole process. This would be SO much easier with a silhouette. Maybe one day… 🙂
For the other cover, I attached fabric to a piece of freezer paper and printed an image directly on the fabric. This is much easier than stenciling, but it will only work for a smaller book.
To start binding, you need
- the pages of your book printed and folded
- two decorative endpapers
- the cloth cover
- chipboard or cardboard cut to size (I bought a 99 cent three-ring binder, cut off the vinyl cover, and used the board inside)
- needle and thread
- Elmer’s glue
- paint brush


After the pages are sewn together, glue a piece of fabric over the binding with white glue. Then add the fabric to the cover by painting on white glue and smoothing the fabric down. Fold the edges of the fabric over and glue to the inside of the cover.

Once the cover is covered, you attach the pages by gluing the endpages to the cover. The endpages cover the unfinished edges of your fabric, hold the pages in the cover, and make your book look super cute.


I’ve read these stories to my son at bed time, and he really seems to like them. I’m not quite sure if he understands who they are about yet, but I think he will one day. I love the idea of my kids growing up knowing stories about their grandparents and great grandparents.


