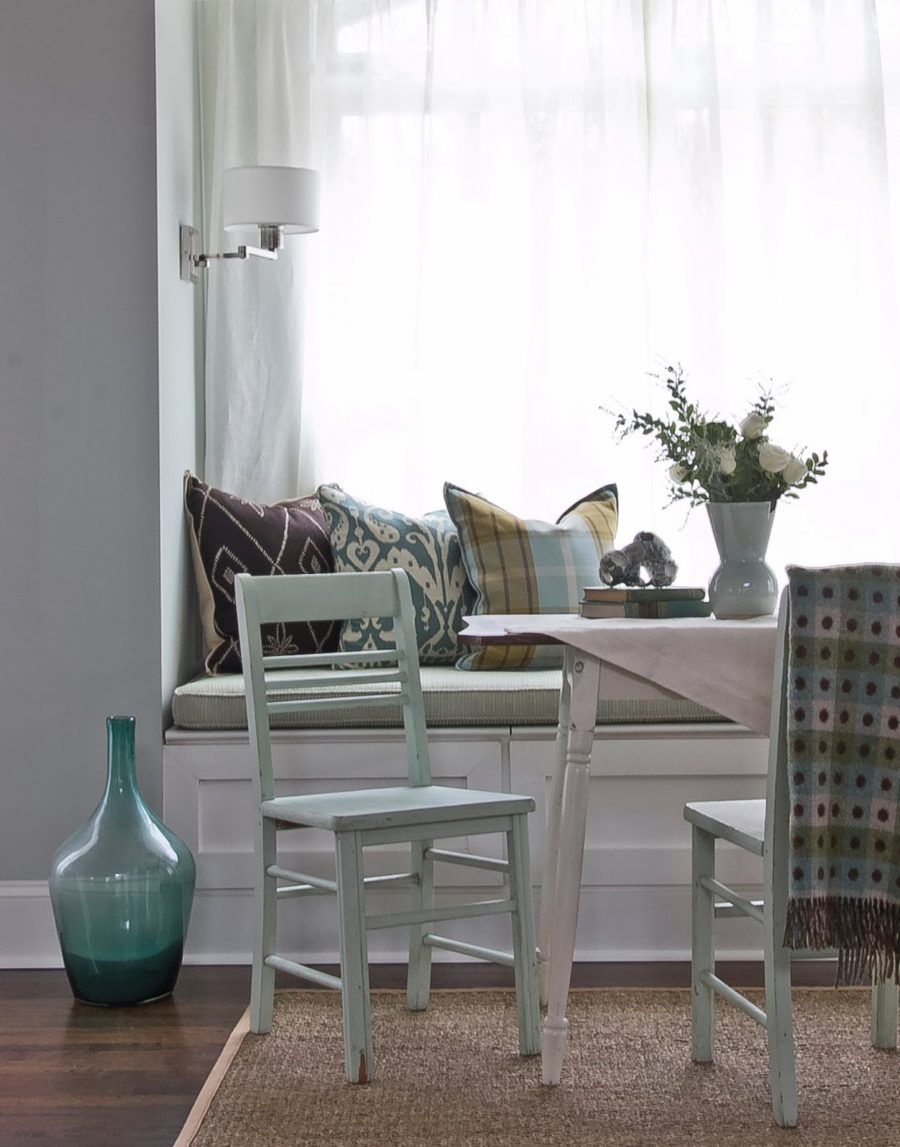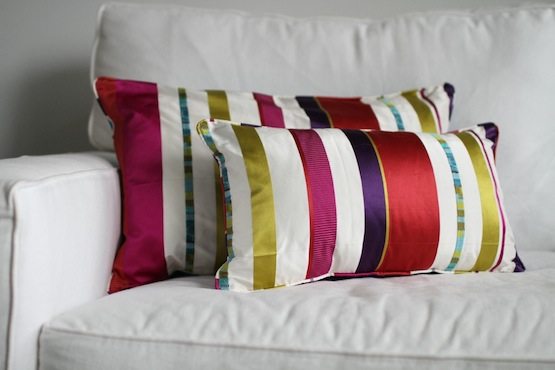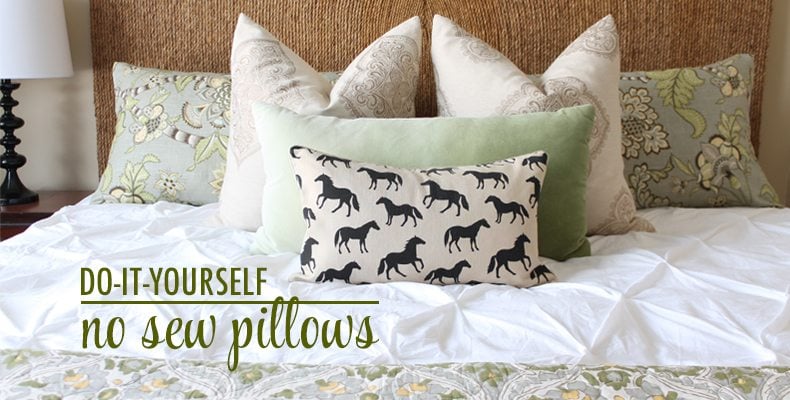
I’ve always believed the best way to give your home decor a fresh update is with new pillows! And I’ve never let my inability to sew stop me from making my own. I’m like a kid in a candy store whenever I go to a fabric store. In fact, for me, new pillows are the equivalent of a fresh haircut and a new tube of lipstick. Although, in all honesty, I think new pillows are even better at lifting my spirits. So here’s my easy how-to, for any of you non-sewers like myself, on making your own mood-lifting pillows!
These directions work no matter what size pillow you’re working with; same steps- just alter the amount of fabric. Oh and keep in mind, you can use any fabric you like : a napkin, a tablecloth, even a dishtowel works! For this tutorial I made king size pillow shams.
The Supplies:
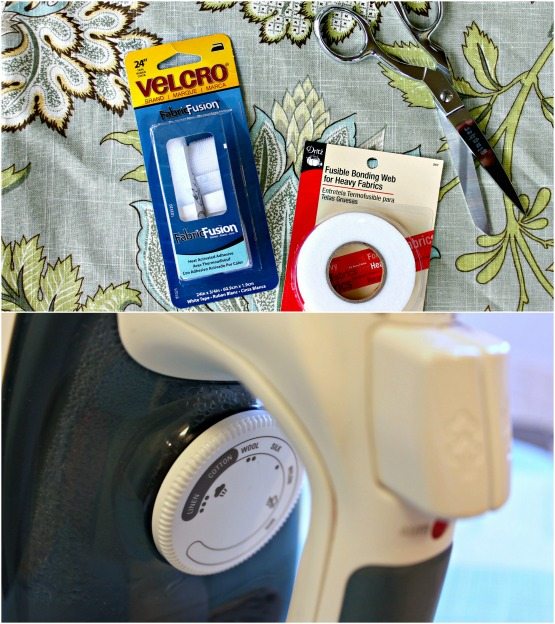
Fabric (of your choice)
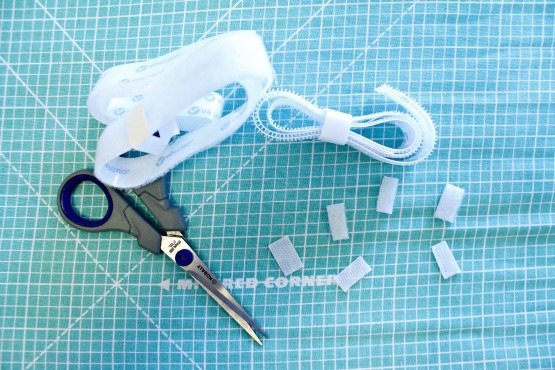
Fusible Bonding Web (no-sew hemming tape)
Velcro Fabric Fusion
Fabric Scissors
Iron
Pillow Insert
(*Chic tip – It’s a good idea to invest in a great pair of fabric scissors. They will make your fabric cutting life easy breezey – trust me. Only use them for fabric.)
Instructions:
1. Start by measuring your pillow insert; then add 3 inches to the length and 1 inch to the width. This will give you room to “sew” your seams together and to create an envelope opening in the back.
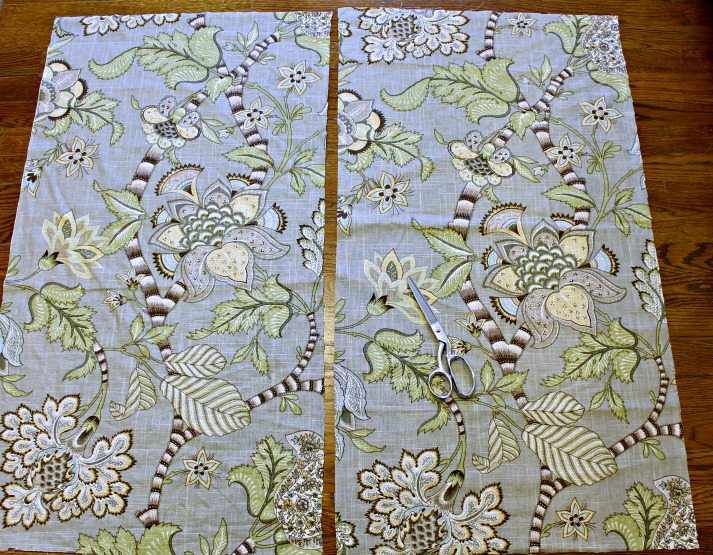
2. Lay your cut fabric out. You should have a top and a bottom.
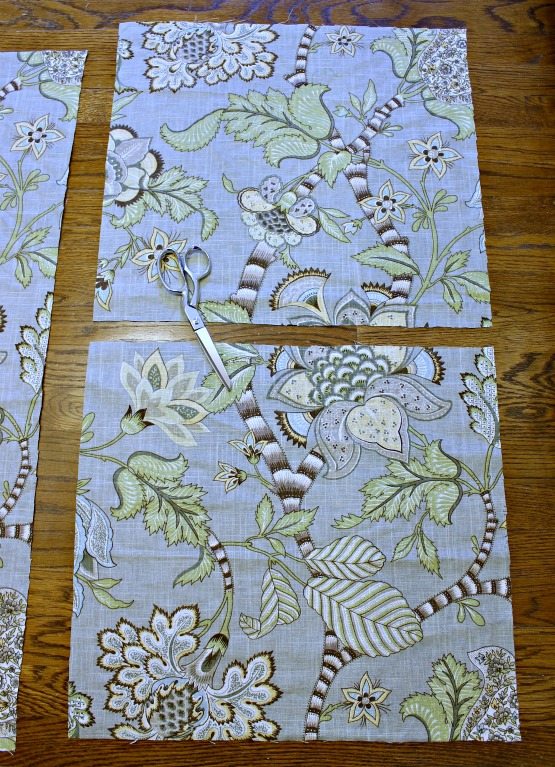
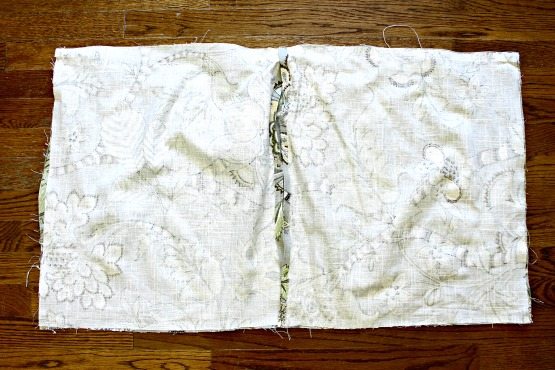
3. Then cut one piece , the back piece, in half. (You’re going to make an envelope opening.)
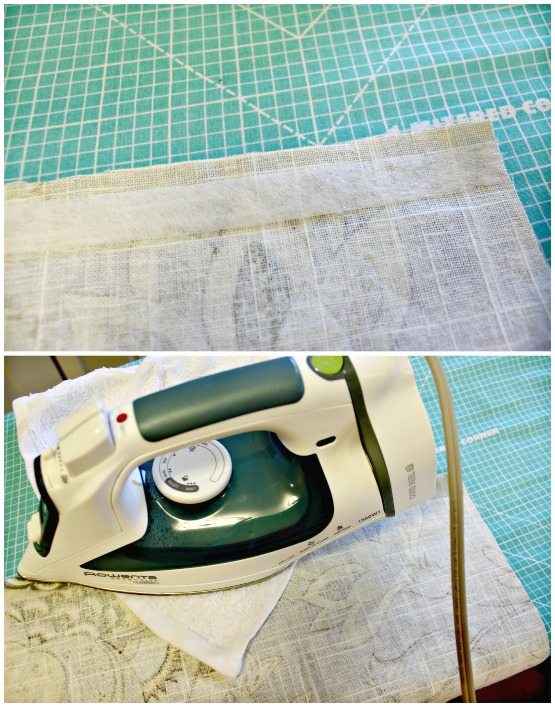
4. Now you’re going to hem the fabric right along the edge that you just cut. (This will be the envelope opening in the back where you will insert your pillow form.) Set your iron to the wool setting and grab a damp washcloth. Lay fusible web down then fold the fabric over. Place the damp washcloth on top and hold the iron on for 10 to 20 seconds.
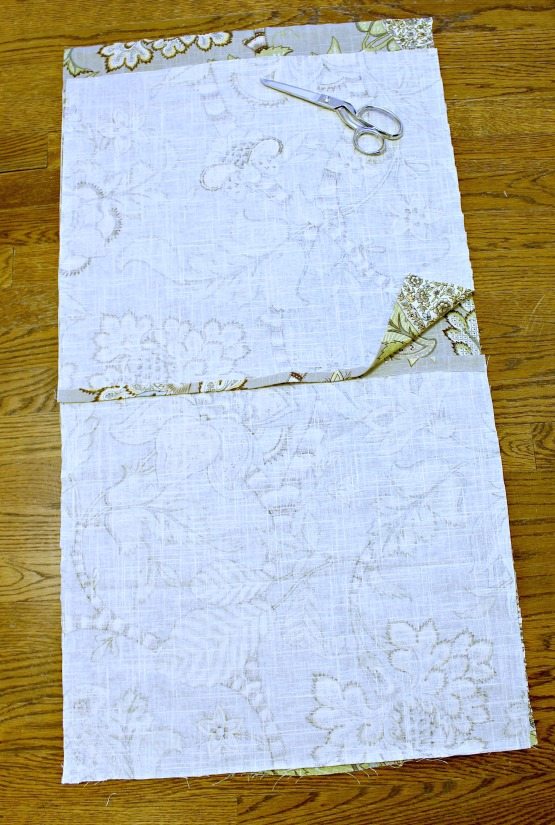
5. Once both inside sides have been hemmed, lay your pieces down overlapping them by about half an inch. Then trim the excess so the top and bottom are the same length. (Now you see why you added 3 inches to the length measurement.)
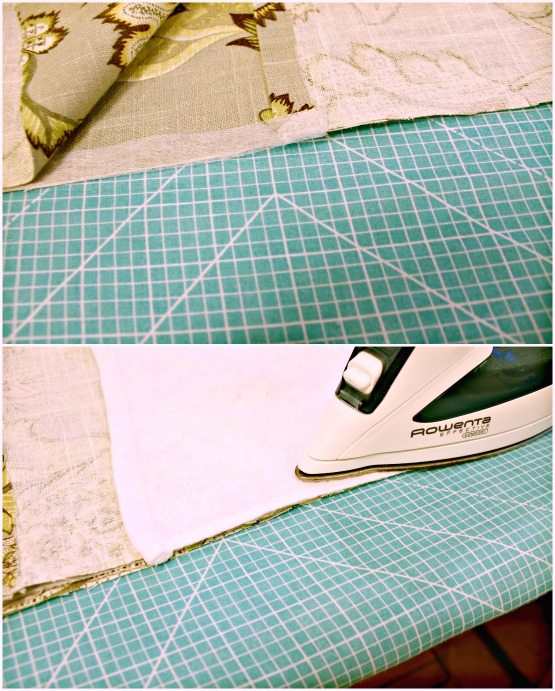
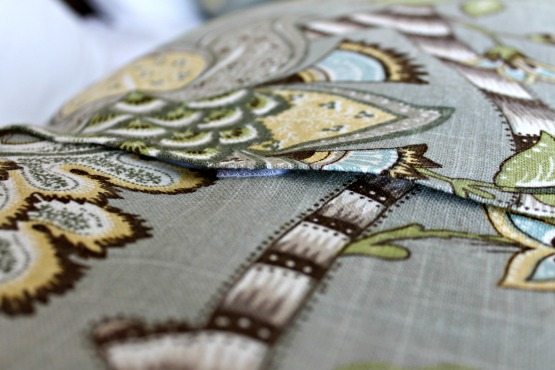
6. Now you’re going to use your fusible bonding web, damp washcloth and iron set to wool setting to “sew” the right sides (the side with the pattern) together going along the outside edge all the way around your pillow.
7. Once you’re done no-sewing the edges, you are ready to add the velcro to your envelope opening.
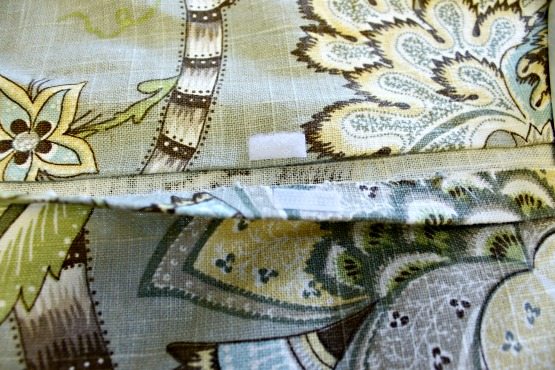
8. The velcro works the same way as the fusible bonding web except that you set your iron to the highest steam setting. Cut three small pieces of velcro (both sides) and then peel the sticker backing off and place the pieces on the fabric – one at each end and then a piece in the middle.
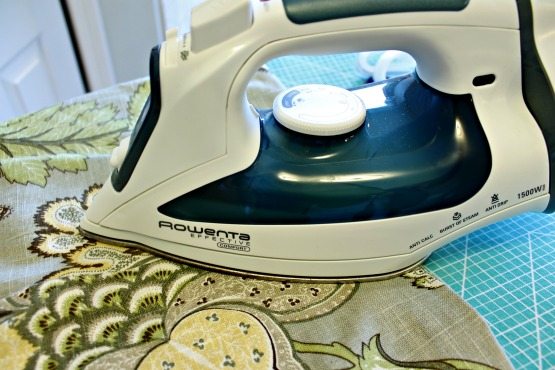
9. Then set the iron on top and hold pressure with a little back and forth movement for 90 seconds. With delicate fabrics you may want to layer a piece on top, so you don’t scorch your pillow fabric.
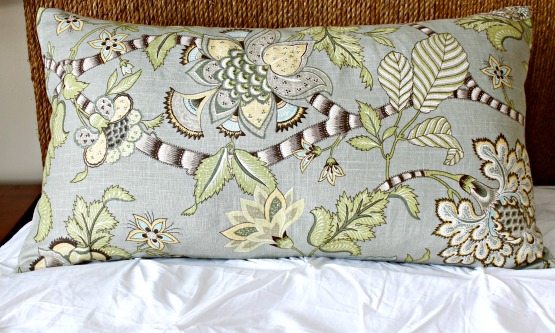
Then do a little happy dance because you. are. DONE! And it looks great from the front……
and nice and clean on the back too, thanks to the velcro!

No sewing skills needed. AT ALL. As I stated earlier this method works for any size pillow. I made a couple of king size shams for the guest room bed and no one’s the wiser that they aren’t sewn together.
You can machine wash, but I’d recommend hand washing.
If you use this tutorial to no-sew your own pillows, show them off on instagram with hashtag #thechic!