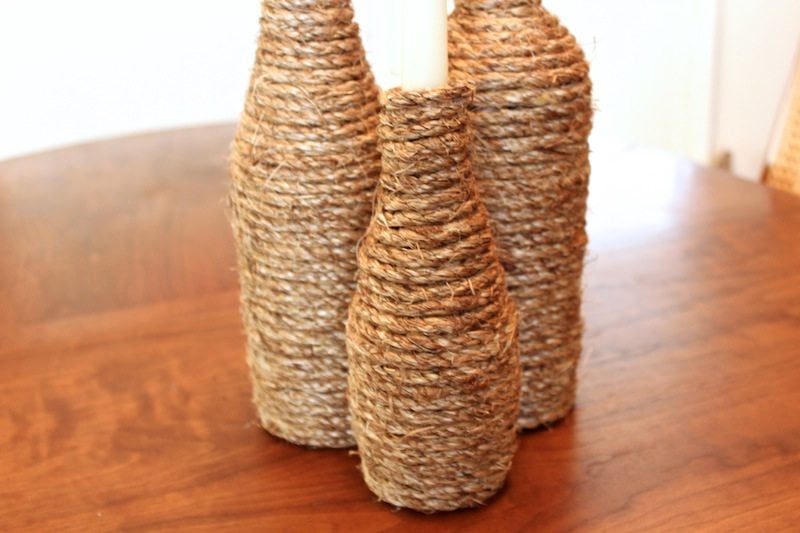
Rope candlesticks are by far the most user friendly DIY I’ve ever done. They are so so simple to make!! I recommend this one for any crafters who, like myself, have a love for wine because it’s a way to recycle your bottles. Let’s jump to it:
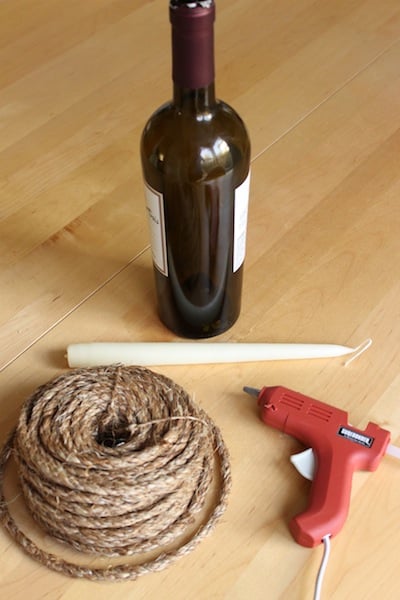
Supplies:
1. empty bottle
2. rope (I got this super rustic looking one from home depot)
3. hot glue gun
4. taper candles
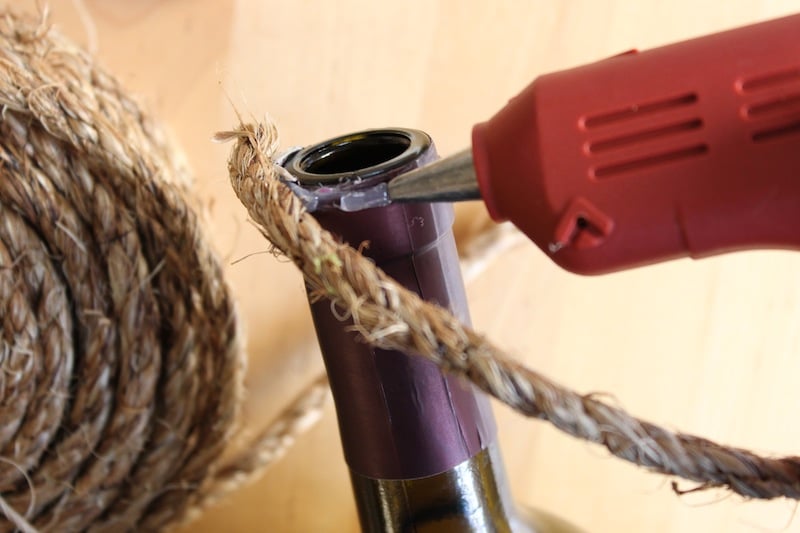
I simply spread hot glue on the bottle and laid the rope on top. I could not live without Mr. hot glue gun! He’s the best!!
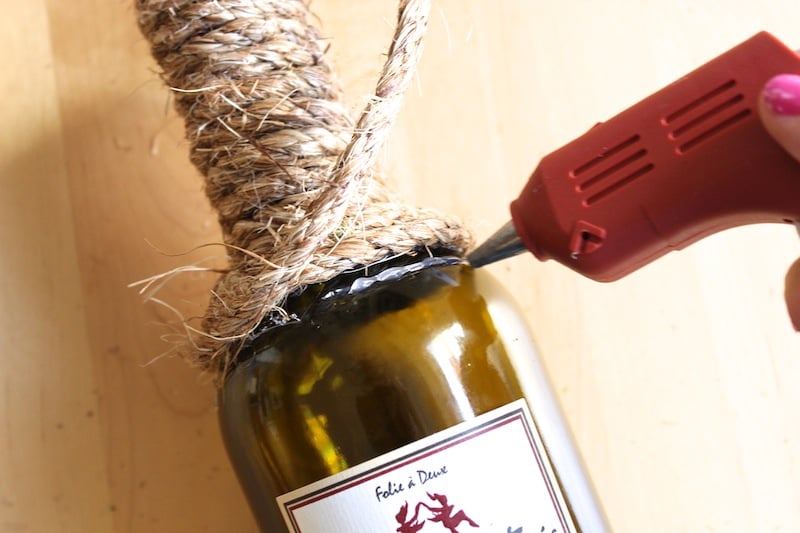
Just continue to work around the bottle one row at a time. I like to glue all the way down the bottle because it makes it extra secure.
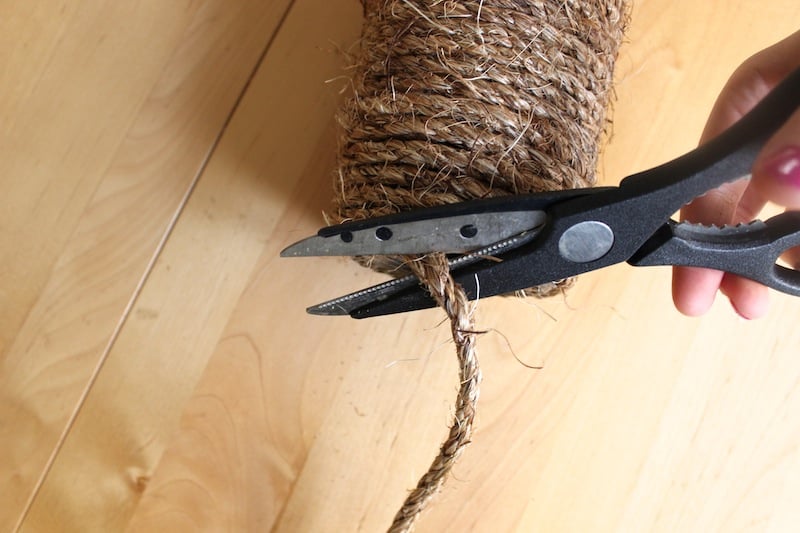
When you get to the bottom of your bottle, trim your rope.
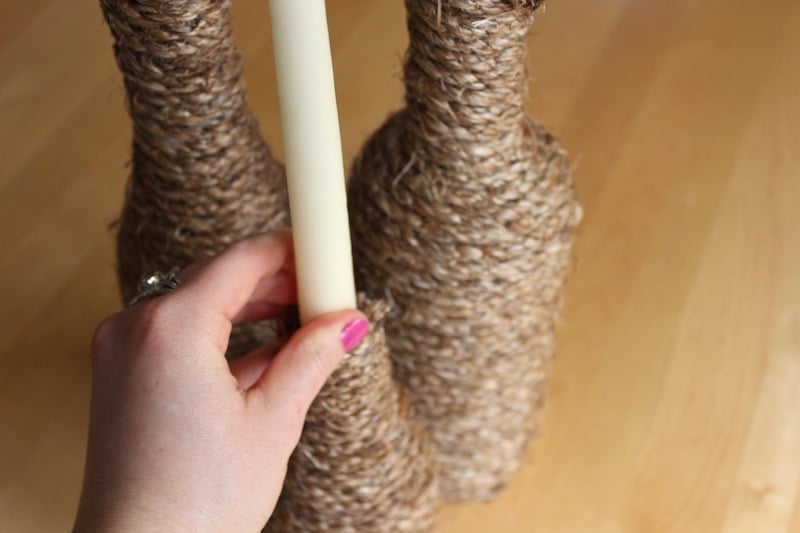
Secure your taper candles inside. If the bottle is on the smaller side, you may need to file the candle down a little to fit. You can do this with a knife and a little elbow grease.
Quick tip: Another fun trick is light the candle and hold the flame side down, allowing the wax to drip down on the candle stick opening. Quickly secure the candle (bottom side) into the hole and the wax will dry and hold it in place.

I like using bottles of different sizes and shapes. For the little one, I used a Perrier bottle, and the two larger are recycled wine bottles. I think mixing and matching creates a really fun, eclectic look.
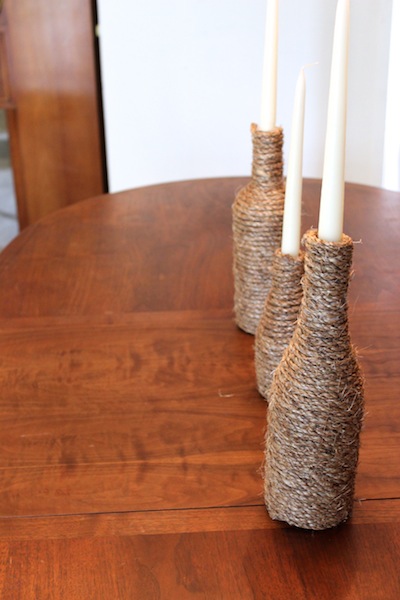
I wish I had the extra time to style these candlesticks with a tablescape to show you how great these will look when mixed with other decor. They have a pottery barn-esque feel to me, and when mixed in with other decor, they look super chic! When I find these rope candlesticks a home, I’ll make sure to share the photos with all of you.


